Black & Decker Toaster Oven User Manual: A Comprehensive Guide
Welcome! This manual provides essential guidance for operating your BLACK+DECKER™ toaster oven‚ simplifying daily tasks with durability and performance. Explore features and safety!
Black & Decker has a long-standing reputation for creating reliable and innovative kitchen appliances‚ and our toaster ovens are no exception. Designed to simplify your cooking experience‚ these versatile appliances offer a convenient alternative to full-sized ovens for a variety of tasks.
From perfectly toasted bread and crispy air-fried snacks to baked casseroles and broiled meats‚ a Black & Decker toaster oven can handle it all. Explore a wide range of models‚ including options with Air Fry functionality‚ catering to diverse culinary needs.
This user manual will guide you through the features‚ operation‚ and maintenance of your new appliance‚ ensuring years of dependable service. Enjoy the convenience and efficiency of a Black & Decker toaster oven!
Understanding Your Model Number
Your Black & Decker toaster oven’s model number is crucial for accessing specific support and warranty information. It’s typically located on a sticker affixed to the rear or bottom of the appliance. This unique identifier details the specific features and specifications of your particular model.
When contacting customer service or ordering replacement parts‚ having the model number readily available will expedite the process. It allows representatives to quickly identify your oven and provide accurate assistance.
Refer to this number when downloading additional resources or registering your product for warranty coverage. Knowing your model ensures you receive the correct information and support.
Key Features and Benefits
Black & Decker toaster ovens offer versatile cooking solutions‚ combining convenience and performance. Key features include multiple functions – toasting‚ baking‚ broiling‚ and often‚ air frying – in a compact design. Enjoy even heating for consistent results‚ and precise temperature control for various recipes.
Benefits extend to quicker cooking times and energy efficiency compared to full-sized ovens. The user-friendly controls and timer dial simplify operation. Durable construction ensures long-lasting reliability‚ while the sleek exterior complements any kitchen décor. Explore simplified daily tasks!

Setting Up Your Toaster Oven
Prepare for cooking! Ensure proper placement with ventilation‚ initial cleaning‚ and a quick test run to confirm functionality before first use.
Initial Setup and Cleaning
Before your first delicious meal‚ carefully unpack your new Black & Decker toaster oven and remove all packaging materials. Inspect for any shipping damage. Wash the baking pan‚ broiling rack‚ and air fry basket (if included) with warm‚ soapy water. Rinse thoroughly and dry completely.
Wipe down the interior of the oven with a damp cloth to remove any dust or residue from manufacturing. Do not immerse the oven itself in water! A light wipe of the exterior with a damp cloth will also prepare it for use. This initial cleaning ensures a fresh start and optimal performance for all your cooking adventures.
Placement and Ventilation Requirements
For safe and efficient operation‚ place your Black & Decker toaster oven on a flat‚ stable‚ heat-resistant surface. Ensure at least 6 inches of free space around the sides and back of the oven for adequate ventilation; Never place the oven directly on a stovetop or near flammable materials like curtains or paper towels.
Avoid placing the oven where it could be exposed to water or moisture. Proper ventilation is crucial to prevent overheating and ensure consistent cooking results. Do not block the air vents during operation. Following these guidelines will maximize performance and longevity.

Powering On and Initial Test Run
Before first use‚ inspect the toaster oven for any damage. Plug the oven into a grounded 120V outlet. Set the function selector knob to “Toast” and the temperature to 350°F (175°C). Set the timer for 5 minutes. This initial run will burn off any manufacturing residue and odors – a slight smell is normal.
Monitor the oven during this test. Once the timer expires‚ unplug the oven and allow it to cool completely before cleaning the interior. This ensures a safe and optimal start to using your new Black & Decker appliance.
Operating Instructions
Explore versatile cooking! This section details how to effectively utilize toasting‚ baking‚ broiling‚ and air frying functions for delicious results every time.
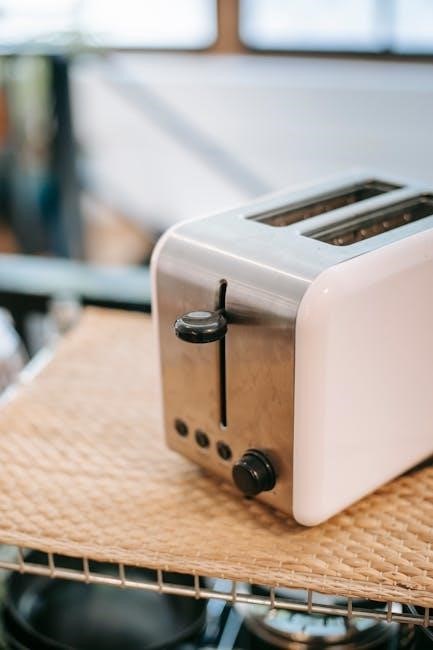
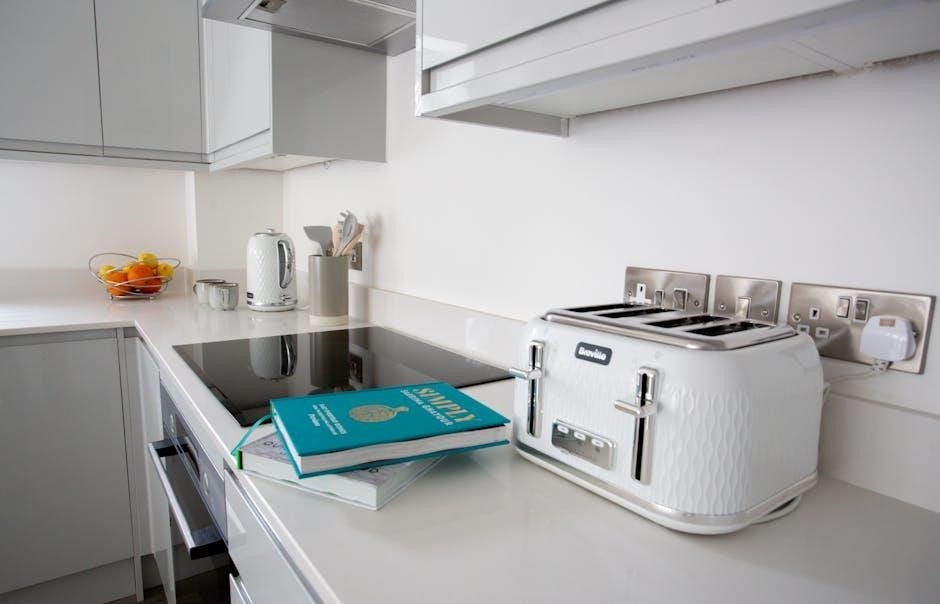
Toasting Functions: Settings and Tips
Achieve perfect toast! Begin by selecting your desired darkness level using the function selector knob. Black & Decker toaster ovens offer a range of settings‚ from lightly golden to deeply browned. For consistent results‚ ensure bread slices are of uniform thickness.
Experiment with different settings to find your preference. Remember that toasting time can vary based on bread type – bagels‚ waffles‚ and pastries may require adjusted settings. Regularly check the toast during operation to prevent burning. For even toasting‚ flip slices halfway through the cycle if needed. Enjoy perfectly toasted bread every morning!
Baking Functions: Temperature and Time Guidelines
Bake delicious treats! Utilize the temperature control settings to achieve optimal baking results. Generally‚ 350°F (175°C) is suitable for most baked goods‚ like cookies and muffins. For casseroles or roasting‚ 375°F (190°C) may be preferable.
Baking times will vary depending on the recipe. Start with the recipe’s recommended time and check for doneness using a toothpick. Smaller items bake faster‚ while larger dishes require extended cooking. Always preheat the oven for even heat distribution. Adjust time and temperature as needed for perfect results. Enjoy homemade goodness!
Broiling Functions: Safety and Usage
Broiling delivers quick‚ intense heat! Always use the broiler pan provided‚ positioning food 4-6 inches from the heating element. Never use glass cookware under the broiler – it may shatter. Monitor food closely to prevent burning‚ as broiling happens rapidly.
Ensure proper ventilation during broiling. Avoid opening the oven door frequently‚ as heat loss impacts cooking. For safety‚ never leave the toaster oven unattended while broiling. Clean up any grease splatters immediately to prevent fires. Enjoy perfectly browned results!
Air Fry Function: Utilizing the Air Fry Feature
Enjoy crispy‚ guilt-free meals! The Air Fry function circulates hot air for even cooking with little to no oil. Place food in the air fry basket‚ ensuring it’s not overcrowded for optimal results. Recommended temperatures typically range from 350°F to 400°F‚ with cooking times varying based on the recipe.
Shake or flip food halfway through for consistent crispness. Avoid using excessive oil; a light spray is usually sufficient. Regularly clean the air fry basket to prevent buildup and maintain performance. Explore healthier cooking options!
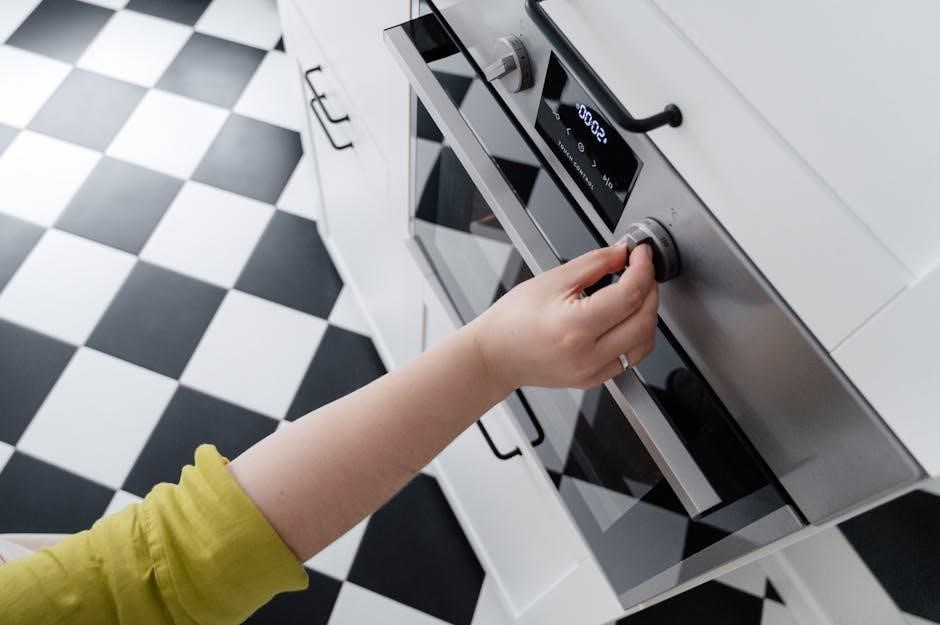
Controls and Display Panel
Effortless operation awaits! The intuitive panel features a timer dial and function selector for precise control over toasting‚ baking‚ and air frying settings.
Understanding the Timer Dial
Precise Timing is Key: The timer dial is central to controlling cooking durations. Rotate it clockwise to select the desired time‚ ensuring accurate results for toasting‚ baking‚ or broiling. The dial typically features markings indicating approximate cooking times for common foods‚ offering a convenient starting point.
Beyond Simple Timing: Some models integrate the function selector with the timer. This means setting the timer also activates the chosen cooking function. Always verify the dial is set to “Off” after use to prevent accidental operation. A clear “click” indicates proper setting. Regularly check the dial’s responsiveness for optimal performance.
Function Selector Knob Explained
Versatility at Your Fingertips: The function selector knob allows you to choose between various cooking modes – toast‚ bake‚ broil‚ and air fry (on applicable models). Each setting optimizes heat distribution and temperature for specific food types. Rotate the knob to align your desired function with the indicator mark.
Understanding Each Setting: “Toast” is for bread products‚ “Bake” for even cooking‚ “Broil” for direct heat browning‚ and “Air Fry” for crispy results with less oil. Ensure the knob is firmly set to prevent unintended function changes during operation. Refer to the operating instructions for specific temperature and time recommendations for each function.
Temperature Control Settings
Precise Heat for Perfect Results: The temperature control allows you to adjust the oven’s internal heat‚ ranging from warming temperatures to high-heat baking and broiling. Use the dial to select the appropriate temperature for your recipe‚ ensuring optimal cooking performance.
Temperature Guidelines: Lower temperatures are ideal for delicate items or prolonged baking‚ while higher temperatures are best for searing or quick cooking. Always preheat the oven before placing food inside. Refer to recipe guidelines or the operating instructions for suggested temperature settings. Monitor food closely to prevent burning.
Cleaning and Maintenance
Keep it Sparkling! Regular cleaning ensures optimal performance and longevity of your BLACK+DECKER™ toaster oven. Remove crumbs and residue after each use.
Regular Cleaning Procedures
Maintaining a pristine toaster oven is simple! After each use‚ and certainly when cooled‚ disconnect the power. Remove the crumb tray and wash it with warm‚ soapy water; ensure it’s completely dry before reinserting. Wipe the interior with a damp cloth to remove any loose particles or splatters. For the exterior‚ a mild cleaning solution and a soft cloth are ideal. Avoid abrasive cleaners‚ as they can damage the finish. Regularly inspect the heating elements for any buildup‚ gently brushing away any debris when cool. Consistent cleaning prevents odors and ensures optimal performance.
Dealing with Stubborn Food Residue
Baked-on messes require a bit more attention! For stubborn residue‚ create a paste of baking soda and water. Apply this to the affected areas and let it sit for 15-20 minutes to loosen the grime. Gently scrub with a non-abrasive sponge or cloth. Avoid metal scouring pads‚ which can scratch the interior. For particularly tough spots‚ a small amount of dish soap can be added to the baking soda paste. Ensure all cleaning agents are thoroughly rinsed away before using the toaster oven again. Patience is key!
Exterior Cleaning and Polishing
Maintaining the exterior keeps your toaster oven looking its best! Regularly wipe down the exterior surfaces with a damp cloth and mild dish soap. Avoid abrasive cleaners‚ as they can damage the finish. For stainless steel models‚ use a stainless steel cleaner and polish to remove fingerprints and streaks‚ following the product’s instructions carefully. Dry the exterior thoroughly with a soft cloth after cleaning. This prevents water spots and maintains a gleaming appearance. Regular polishing enhances durability and preserves the oven’s stylish look.
Troubleshooting Common Issues
Facing problems? This section offers solutions for heating‚ uneven toasting‚ and timer malfunctions‚ ensuring optimal performance of your BLACK+DECKER™ toaster oven.
Toaster Oven Not Heating
Problem: If your Black & Decker toaster oven isn’t heating‚ first ensure it’s properly plugged into a functioning outlet. Verify the power cord isn’t damaged. Next‚ check the function selector knob; it must be set to a heating function like ‘Toast‚’ ‘Bake‚’ or ‘Broil.’
Confirm the timer dial is engaged and not set to ‘Off.’ A tripped circuit breaker can also cause this issue – reset if necessary. If the heating elements appear broken or damaged‚ discontinue use and contact customer support. Always prioritize safety and avoid attempting self-repair of electrical components.
Uneven Toasting Problems
Issue: Experiencing uneven toasting? Ensure the toaster oven rack is positioned correctly and that food isn’t overcrowded‚ allowing for proper heat circulation. Rotate the food halfway through the toasting cycle for more consistent results. Check if the heating elements are clean and free of debris‚ as buildup can cause hotspots.
Variations in bread thickness or density can also contribute to uneven toasting. Experiment with different shade settings to find the optimal level for your preferred toast. Consistent bread selection will improve results.
Timer Malfunctions
Issue: If the timer isn’t functioning correctly‚ first ensure it’s set accurately and hasn’t been accidentally bumped. A common cause is a power surge; try resetting the oven by unplugging it for several minutes‚ then plugging it back in. If the timer still fails to operate‚ avoid prolonged use as this could pose a safety risk.
Do not attempt to disassemble or repair the timer mechanism yourself. Contact Black & Decker customer support for assistance or potential repair options. Continued malfunction warrants professional attention.
Safety Precautions
Prioritize safety! Always unplug the oven before cleaning. Never use abrasive cleaners. Keep flammable materials away‚ and supervise during broiling for safe operation.
Important Safety Warnings
Read carefully before use! This Black & Decker toaster oven gets very hot during operation. Avoid touching exterior surfaces to prevent burns. Never operate the appliance with a damaged cord or plug‚ and always ensure proper grounding to prevent electrical shock.
Do not immerse the toaster oven in water or other liquids. Supervise children when the appliance is in use. Never leave the oven unattended while operating. Use oven mitts or pot holders when handling hot food or trays. Ensure adequate ventilation during operation‚ and do not cover the oven while it’s on.
Improper use can result in fire‚ electric shock‚ or personal injury. Always follow these warnings for safe and enjoyable cooking!
Preventing Electrical Hazards
Safety first! To minimize electrical risk‚ always plug your Black & Decker toaster oven directly into a grounded electrical outlet. Never use an extension cord unless absolutely necessary‚ and if so‚ ensure it’s appropriately rated for the appliance’s wattage (1150W-1750W).
Avoid operating the oven with wet hands or in a damp environment. Regularly inspect the power cord for damage‚ and discontinue use if any fraying or exposed wires are detected. Do not attempt to repair the appliance yourself; contact qualified service personnel for assistance.
Unplug the oven when not in use and before cleaning. Proper electrical safety is crucial for preventing accidents.
Safe Usage of the Broil Function
Caution is key! When broiling‚ always use oven-safe cookware and position the rack appropriately to prevent food from touching the heating element. Never broil without the door securely closed‚ as intense heat is emitted.
Monitor food closely during broiling to avoid burning‚ and utilize the temperature control settings for optimal results. Avoid broiling foods with high fat content‚ as this can create excessive smoke and potential fire hazards. Ensure adequate ventilation in the kitchen during broiling.
Always unplug the oven before cleaning after broiling.
Warranty Information
Protect your investment! Black & Decker offers a 2 Year Limited Warranty on toaster ovens‚ covering defects in materials and workmanship. Register online today!
Black & Decker Warranty Details
Coverage: Black & Decker warrants this toaster oven against defects in materials and workmanship for a period of two years from the date of original purchase. This warranty covers normal household use. It does not cover damage resulting from misuse‚ abuse‚ accidents‚ alterations‚ or commercial use.
What is Covered: We will‚ at our discretion‚ repair or replace the defective appliance. Proof of purchase is required to claim warranty service. This warranty gives you specific legal rights‚ and you may have other rights which vary by location.
Exclusions: Normal wear and tear‚ cosmetic damage‚ and shipping costs are not covered. For full details and to register your product‚ visit blackanddeckerappliances.com.
Registering Your Product
Why Register? Registering your new Black & Decker toaster oven unlocks valuable benefits! Registration allows us to keep you informed about important product updates‚ safety notifications‚ and exclusive promotions tailored to your appliance. It also streamlines the warranty claim process should you ever need service.
How to Register: Visit blackanddeckerappliances.com and navigate to the “Register Your Product” section. You’ll need your model number‚ date of purchase‚ and proof of purchase (receipt or invoice). The process is quick‚ easy‚ and ensures your ownership is recorded.
Benefits: Enjoy peace of mind knowing you’re connected to Black & Decker support!
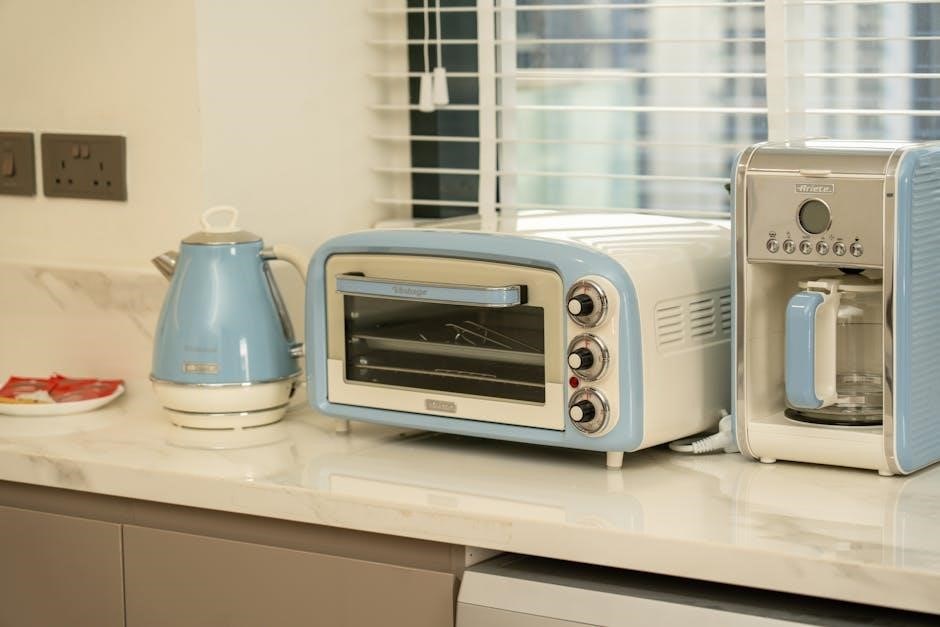
Available Models and Specifications
Explore our lineup! Black & Decker offers diverse toaster ovens with varying wattage (1150W-1750W)‚ colors‚ and features like Air Fry‚ ensuring a perfect fit.
Current Black & Decker Toaster Oven Lineup
Discover our range! Black & Decker currently features a comprehensive collection of toaster ovens designed to meet diverse kitchen needs. Options include traditional toaster ovens for basic toasting and baking‚ alongside models incorporating innovative Air Fry technology for healthier cooking.
You’ll find choices in both black and silver finishes‚ catering to various aesthetic preferences. Power consumption varies‚ with models ranging from 1150W to 1750W‚ influencing cooking speed and capacity. Many models boast a 2-Year Limited Warranty‚ providing peace of mind. Explore countertop options suited for any kitchen space‚ offering convenience and versatility in one appliance.
Power Consumption and Dimensions
Understanding specifications! Black & Decker toaster ovens exhibit varying power consumption‚ ranging from 1150W to 1750W‚ impacting cooking times and energy usage. Lower wattage models are ideal for smaller tasks‚ while higher wattage options offer faster preheating and cooking.
Dimensions vary depending on the model and capacity. Compact designs suit smaller kitchens‚ while larger models accommodate bigger dishes. Always check the product specifications before purchase to ensure it fits your countertop space and meets your cooking requirements. Proper consideration of these factors ensures optimal performance and convenience.